


지난 포스트에는 Nuxt.js의 파일 기반 라우팅 시스템에 대해 알아보았습니다. 이번 포스트에는 Nuxt.js의 레이아웃 시스템과 컴포넌트 관리에 대해 자세히 알아보겠습니다.
1. 레이아웃(Layouts)이란?
레이아웃은 여러 페이지에서 공통으로 사용되는 UI 구조를 정의하는 컴포넌트입니다. 헤더, 푸터, 사이드바와 같이 여러 페이지에서 반복되는 요소들을 레이아웃으로 분리하면 코드 중복을 줄이고 일관된 사용자 경험을 제공할 수 있습니다.

2. 레이아웃 디렉토리 구조
Nuxt.js에서는 layouts 디렉토리에 레이아웃 파일을 생성합니다. 기본적으로 모든 페이지는 default.vue 레이아웃을 사용하지만, 필요에 따라 여러 레이아웃을 만들어 페이지별로 다르게 적용할 수 있습니다.
기본 레이아웃 구조
// app/layouts/default.vue
<template>
  <div>
    <header>
      <nav>
        <NuxtLink to="/">홈</NuxtLink>
        <NuxtLink to="/about">소개</NuxtLink>
        <NuxtLink to="/blog">블로그</NuxtLink>
      </nav>
    </header>

    <main>
      <slot />
    </main>

    <footer>
      <p>© 2025 My Nuxt App</p>
    </footer>
  </div>
</template>
여기서 <slot />은 페이지 컨텐츠가 렌더링될 위치를 나타냅니다. 이는 Vue.js의 슬롯 시스템과 동일한 개념입니다.
커스텀 레이아웃 만들기
특정 페이지에 다른 레이아웃을 적용하고 싶다면, 새로운 레이아웃 파일을 만들고 해당 페이지에서 지정할 수 있습니다.
// layouts/blog.vue
<template>
  <div class="blog-layout">
    <header>
      <h1>블로그</h1>
      <nav>
        <NuxtLink to="/">홈으로</NuxtLink>
      </nav>
    </header>

    <div class="blog-container">
      <aside>
        <h3>카테고리</h3>
        <ul>
          <li><NuxtLink to="/blog/tech">기술</NuxtLink></li>
          <li><NuxtLink to="/blog/life">일상</NuxtLink></li>
        </ul>
      </aside>

      <main>
        <slot />
      </main>
    </div>

    <footer>
      <p>© 2025 My Blog</p>
    </footer>
  </div>
</template>
페이지에 레이아웃 적용하기
특정 페이지에 커스텀 레이아웃을 적용하려면 페이지 컴포넌트에서 definePageMeta를 사용합니다.
// pages/blog/index.vue
<script setup>
definePageMeta({
  layout: 'blog'
})
</script>

<template>
  <div>
    <h2>최근 블로그 포스트</h2>
    <!-- 블로그 포스트 목록 -->
  </div>
</template>
3. 레이아웃 활용 전략
메인 레이아웃 설정
Nuxt.js에서는 app.vue 파일에서 NuxtLayout 컴포넌트를 사용하여 전체 페이지의 기본 레이아웃 구성을 선언할수 있습니다.
// app.vue
<template>
  <div>
    <NuxtLayout>
      <NuxtPage />
    </NuxtLayout>
  </div>
</template>
중첩 레이아웃 사용하기
Nuxt 3 부터는 레이아웃을 중첩해서 사용할 수 있습니다. 이를 통해 더 복잡한 UI 구조를 구현할 수 있습니다.
// layouts/dashboard.vue
<template>
  <div class="dashboard-layout">
    <aside class="sidebar">
      <!-- 대시보드 메뉴 -->
      dashboard UI
    </aside>

    <div class="content">
      <slot />
    </div>
  </div>
</template>
// pages/admin/dashboard.vue
<script setup>
definePageMeta({
layout: 'dashboard'
})
</script>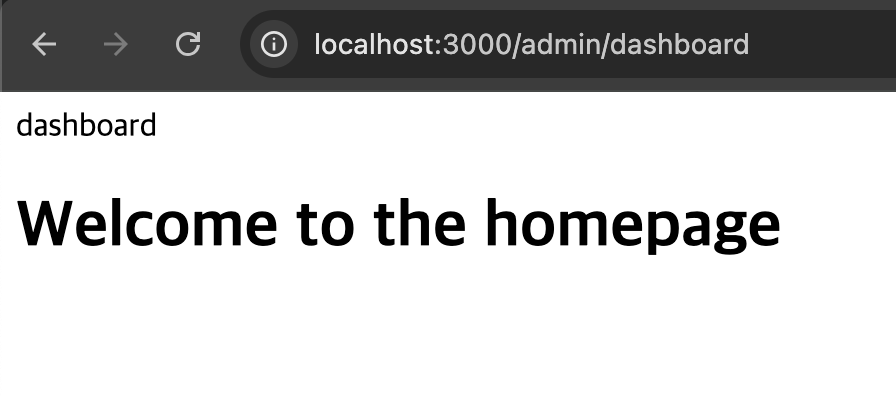
app.vue 와 layouts/dashboard.vue로 구성.
4. 컴포넌트(Components) 시스템
Nuxt.js의 컴포넌트 시스템은 Vue.js 컴포넌트를 기반으로 하지만, 자동 임포트 기능을 통해 더 편리하게 사용할 수 있습니다.
컴포넌트 자동 임포트
Nuxt.js에서는 components 디렉토리에 있는 모든 컴포넌트를 자동으로 임포트합니다. 이는 별도의 import 문 없이 컴포넌트를 사용할 수 있다는 의미입니다.
// components/Button.vue
<template>
  <button class="btn" :class="type">
    <slot />
  </button>
</template>

<script setup>
defineProps({
  type: {
    type: String,
    default: 'primary'
  }
})
</script>

<style scoped>
.btn {
  padding: 8px 16px;
  border-radius: 4px;
  cursor: pointer;
}
.primary {
  background-color: #3498db;
  color: white;
}
.secondary {
  background-color: #95a5a6;
  color: white;
}
</style>
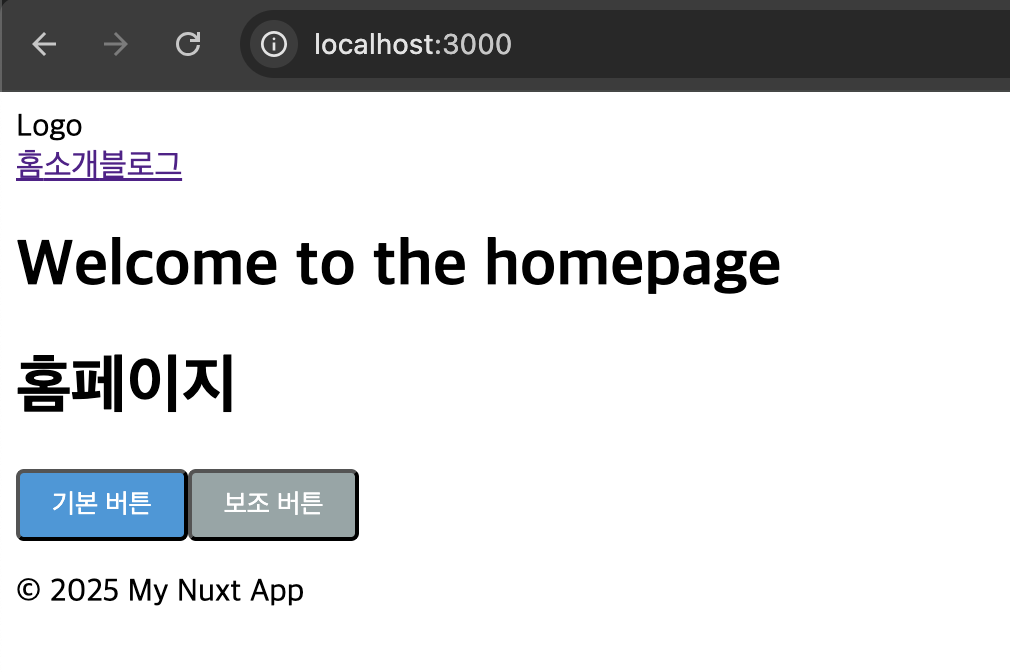
이제 이 컴포넌트를 어떤 페이지나 다른 컴포넌트에서도 import 없이 바로 사용할 수 있습니다:
// pages/index.vue
<template>
  <div>
    <h1>홈페이지</h1>
    <Button>기본 버튼</Button>
    <Button type="secondary">보조 버튼</Button>
  </div>
</template>

<script setup>
definePageMeta({
  layout: 'default'
})
</script>
컴포넌트 디렉토리 구조화
프로젝트가 커질수록 컴포넌트를 체계적으로 관리하는 것이 중요합니다. Nuxt.js에서는 중첩 디렉토리를 통해 컴포넌트를 구조화할 수 있습니다.
app/components/
  ├── ui/
  │   ├── Button.vue
  │   ├── Card.vue
  │   └── Modal.vue
  ├── layout/
  │   ├── Header.vue
  │   ├── Footer.vue
  │   └── Sidebar.vue
  └── blog/
      ├── PostCard.vue
      └── CommentForm.vue
이렇게 구조화된 컴포넌트는 다음과 같이 사용할 수 있습니다:
<template>
  <div>
    <UiCard>
      <BlogPostCard :post="post" />
    </UiCard>

    <UiButton @click="openModal">댓글 작성</UiButton>

    <UiModal v-if="isModalOpen">
      <BlogCommentForm @submit="submitComment" />
    </UiModal>
  </div>
</template>
지연 로딩 컴포넌트
큰 컴포넌트나 자주 사용되지 않는 컴포넌트는 지연 로딩을 통해 초기 로딩 시간을 줄일 수 있습니다. 컴포넌트 이름 앞에 Lazy 접두사를 붙이면 됩니다.
<template>
  <div>
    <!-- 필요할 때만 로드됨 -->
    <LazyCommentSection v-if="showComments" />

    <button @click="showComments = !showComments">
      {{ showComments ? '댓글 숨기기' : '댓글 보기' }}
    </button>
  </div>
</template>

<script setup>
const showComments = ref(false)
</script>
5. 실전 예제: 블로그 레이아웃 구현하기
이제 배운 내용을 바탕으로 간단한 블로그 레이아웃을 구현해 보겠습니다.
1. 레이아웃 파일 생성
// layouts/blog.vue
<template>
  <div class="blog-layout">
    <BlogHeader />

    <div class="container mx-auto px-4 py-8">
      <div class="flex flex-wrap">
        <aside class="w-full md:w-1/4 pr-4">
          <BlogSidebar />
        </aside>

        <main class="w-full md:w-3/4">
          <slot />
        </main>
      </div>
    </div>

    <BlogFooter />
  </div>
</template>
2. 필요한 컴포넌트 생성
// components/blog/Header.vue
<template>
  <header class="bg-gray-800 text-white p-4">
    <div class="container mx-auto flex justify-between items-center">
      <h1 class="text-2xl font-bold">My Tech Blog</h1>
      <nav>
        <ul class="flex space-x-4">
          <li><NuxtLink to="/" class="hover:text-blue-300">홈</NuxtLink></li>
          <li><NuxtLink to="/blog" class="hover:text-blue-300">블로그</NuxtLink></li>
          <li><NuxtLink to="/about" class="hover:text-blue-300">소개</NuxtLink></li>
        </ul>
      </nav>
    </div>
  </header>
</template>
// components/blog/Sidebar.vue
<template>
<div class="blog-sidebar bg-gray-100 p-4 rounded">
<h3 class="text-xl font-bold mb-4">카테고리</h3>
<ul class="space-y-2">
<li v-for="category in categories" :key="category.slug">
<NuxtLink
:to="`/blog/category/${category.slug}`"
class="hover:text-blue-600"
>
{{ category.name }}
</NuxtLink>
</li>
</ul>
<h3 class="text-xl font-bold mt-6 mb-4">최근 게시물</h3>
<ul class="space-y-2">
<li v-for="post in recentPosts" :key="post.id">
<NuxtLink
:to="`/blog/${post.id}`"
class="hover:text-blue-600"
>
{{ post.title }}
</NuxtLink>
</li>
</ul>
</div>
</template>
<script setup>
// 실제 애플리케이션에서는 API나 스토어에서 데이터를 가져올 수 있습니다
const categories = [
{ name: '프론트엔드', slug: 'frontend' },
{ name: '백엔드', slug: 'backend' },
{ name: 'DevOps', slug: 'devops' },
{ name: '커리어', slug: 'career' }
]
const recentPosts = [
{ id: 1, title: 'Nuxt 3 시작하기' },
{ id: 2, title: 'Vue 3 Composition API 완벽 가이드' },
{ id: 3, title: '효과적인 컴포넌트 설계 방법' }
]
</script>// components/blog/Footer.vue
<template>
<footer class="bg-gray-800 text-white p-6">
<div class="container mx-auto">
<div class="flex flex-wrap">
<div class="w-full md:w-1/3 mb-6 md:mb-0">
<h3 class="text-xl font-bold mb-4">My Tech Blog</h3>
<p>프론트엔드 개발과 관련된 다양한 정보를 공유합니다.</p>
</div>
<div class="w-full md:w-1/3 mb-6 md:mb-0">
<h3 class="text-xl font-bold mb-4">링크</h3>
<ul class="space-y-2">
<li><NuxtLink to="/about" class="hover:text-blue-300">소개</NuxtLink></li>
<li><NuxtLink to="/contact" class="hover:text-blue-300">연락처</NuxtLink></li>
<li><NuxtLink to="/privacy" class="hover:text-blue-300">개인정보처리방침</NuxtLink></li>
</ul>
</div>
<div class="w-full md:w-1/3">
<h3 class="text-xl font-bold mb-4">구독하기</h3>
<p class="mb-4">최신 글 소식을 받아보세요</p>
<div class="flex">
<input
type="email"
placeholder="이메일 주소"
class="px-4 py-2 w-full text-gray-800 rounded-l"
>
<button class="bg-blue-500 px-4 py-2 rounded-r">구독</button>
</div>
</div>
</div>
<div class="border-t border-gray-700 mt-8 pt-6 text-center">
<p>© 2023 My Tech Blog. All rights reserved.</p>
</div>
</div>
</footer>
</template>3. 블로그 페이지에 레이아웃 적용
// pages/blog/index.vue
<script setup>
definePageMeta({
  layout: 'blog'
})

// 실제 애플리케이션에서는 API에서 데이터를 가져올 수 있습니다
const posts = [
  {
    id: 1,
    title: 'Nuxt 3 시작하기',
    excerpt: 'Nuxt 3의 새로운 기능과 시작하는 방법에 대해 알아봅니다.',
    date: '2023-05-15',
    author: '김개발'
  },
  {
    id: 2,
    title: 'Vue 3 Composition API 완벽 가이드',
    excerpt: 'Vue 3의 Composition API를 활용한 효과적인 상태 관리 방법을 소개합니다.',
    date: '2023-05-10',
    author: '이프론트'
  },
  {
    id: 3,
    title: '효과적인 컴포넌트 설계 방법',
    excerpt: '재사용성과 유지보수성을 높이는 컴포넌트 설계 패턴을 알아봅니다.',
    date: '2023-05-05',
    author: '박컴포넌트'
  }
]
</script>

<template>
  <div>
    <h1 class="text-3xl font-bold mb-6">최신 블로그 포스트</h1>

    <div class="space-y-6">
      <BlogPostCard
        v-for="post in posts"
        :key="post.id"
        :post="post"
      />
    </div>
  </div>
</template>
// components/blog/PostCard.vue
<template>
<article class="bg-white p-6 rounded shadow hover:shadow-lg transition-shadow">
<h2 class="text-2xl font-bold mb-2">
<NuxtLink :to="`/blog/${post.id}`" class="hover:text-blue-600">
{{ post.title }}
</NuxtLink>
</h2>
<div class="text-gray-600 mb-4">
<span>{{ post.date }}</span>
<span class="mx-2">•</span>
<span>{{ post.author }}</span>
</div>
<p class="text-gray-700 mb-4">{{ post.excerpt }}</p>
<NuxtLink
:to="`/blog/${post.id}`"
class="text-blue-600 hover:underline"
>
계속 읽기 →
</NuxtLink>
</article>
</template>
<script setup>
defineProps({
post: {
type: Object,
required: true
}
})
</script>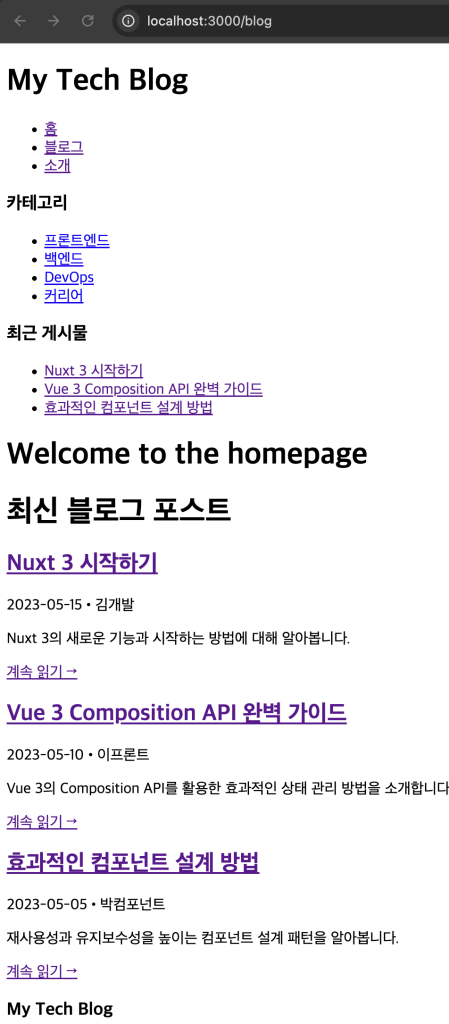
6. 고급 컴포넌트 기법
동적 컴포넌트 사용
Vue.js의 <component :is="..."> 구문을 사용하여 동적으로 컴포넌트를 렌더링할 수 있습니다.
<template>
  <div>
    <div class="tabs">
      <button
        v-for="tab in tabs"
        :key="tab.name"
        @click="currentTab = tab.component"
        :class="{ active: currentTab === tab.component }"
      >
        {{ tab.name }}
      </button>
    </div>
    <component :is="currentTab" />
  </div>
</template>

<script setup>
import { ref } from 'vue'
import BlogLatestPosts from '../app/components/blog/LatestPosts.vue'
import BlogPopularPosts from '../app/components/blog/PopularPosts.vue'
import BlogRecommendedPosts from '../app/components/blog/RecommendedPosts.vue'

const tabs = [
  { name: '최신 글', component: BlogLatestPosts },
  { name: '인기 글', component: BlogPopularPosts },
  { name: '추천 글', component: BlogRecommendedPosts }
]

const currentTab = ref(tabs[0].component)
</script>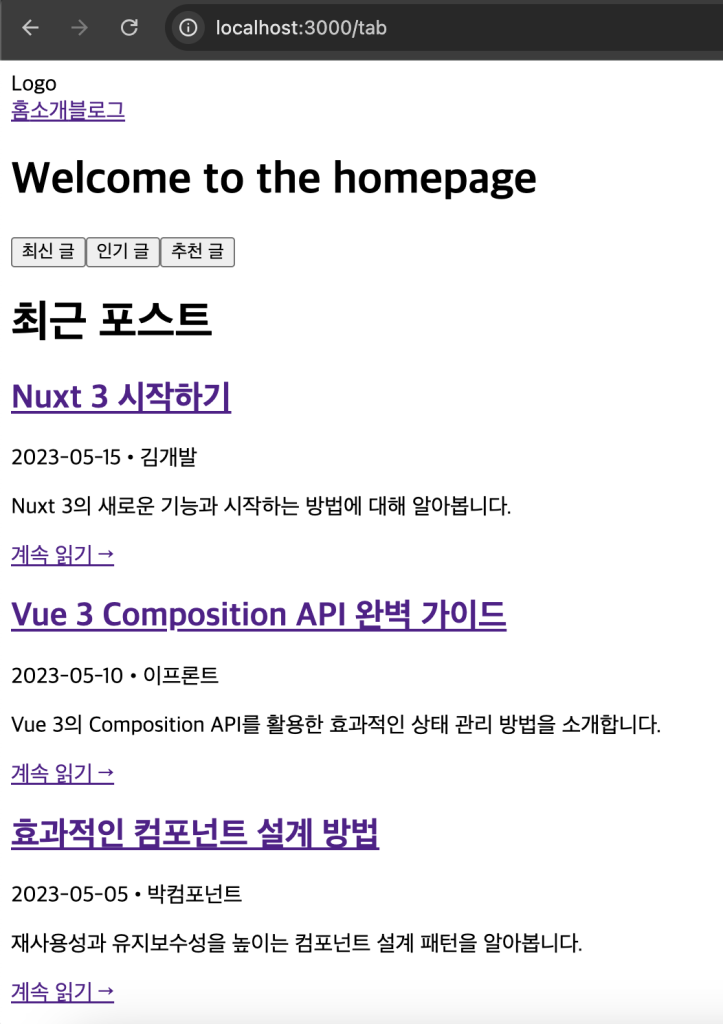
6. 정리 및 다음 단계
이번 포스팅에서는 Nuxt.js의 레이아웃과 컴포넌트에 대해 자세히 알아보았습니다. 레이아웃을 통해 일관된 UI를 구성하고, 컴포넌트를 통해 재사용 가능한 UI 요소를 만드는 방법을 통해 관리 측면의 업무 향상을 기대할 수 있습니다. 특히 Nuxt 의 자동 임포트 기능은 개발 경험을 크게 향상시키는 강력한 기능입니다.
레이아웃과 컴포넌트를 효과적으로 활용하면 다음과 같은 이점이 있습니다:
- 코드 중복 감소 및 유지보수성 향상
- 일관된 사용자 경험 제공
- 개발 속도 향상
- 팀 협업 효율성 증가
다음 포스팅 미리보기: 에셋(Assets) 및 정적 파일(Public) 관리
다음 포스팅에서는 Nuxt.js에서 이미지, CSS, 폰트 등의 정적 리소스를 관리하는 방법에 대해 알아보겠습니다. 주요 내용은 다음과 같습니다:
assets과public디렉토리의 차이점과 각각의 사용 사례- 이미지, 폰트 등의 리소스를 효율적으로 관리하는 방법
즐거운 코딩 생활 하세요 : )
답글 남기기